Sooo, Progress has been slow and steady since the midterm. A majority of my time was spent troubleshooting the aforementioned problem and eventually doing retopology. Currently my model has been retopped, and I am in the process of transferring details between my old high res mesh and the newly retopologized mesh. Retopology devoured a huge chunk of my time, now that it is finally completed I can pose and finish up my final render in the next few days.
 |
| Example of an organized face mesh. The orange loops seen here are what make animation possible. |
Retopology is a horribly repetitive mind numbing process. There are programs that help facilitate this but I only have access to Maya here in the labs. Unfortunately the Retopology process within Maya is extremely tedious. Retopology is the act of creating an organized mesh with a clean topology. You are literally "redoing" the topology flow that exists in your model. This is done for many reasons, sculpting loops, animation loops, but for my purposes as a way to troubleshoot my unresponsive Mudbox mesh.


- Retopology all begins with the high res mesh in your sculpting application. The desired edge flow must first be decided upon. The examples above were done by painting the edge flow as a texture file on top of the high res mesh.
- Once this was completed, The high res model along with the texture file containing my edge flow was imported into Maya. The high-res was turned into a transparent template that the retopologized mesh was built upon. This mesh is created by hand, polygon by polygon, snapping onto the high res as a guide.
- The tools seen on the left are used in a pattern.


- Create Polygon Tool is used to create a strip of polygon.

- This Polygon is then "Triangulated" and ultimately "Quadrangulated" to transform the strip into an even strip of Quads.

- Once a number of strips are completed, The separate meshes are then "combined"

- Moving on to Vertex mode, Making a large selection over the newly created area and selecting "merge" combines the strips in one retopologized mesh. This method is repeated ad nauseum.
 |
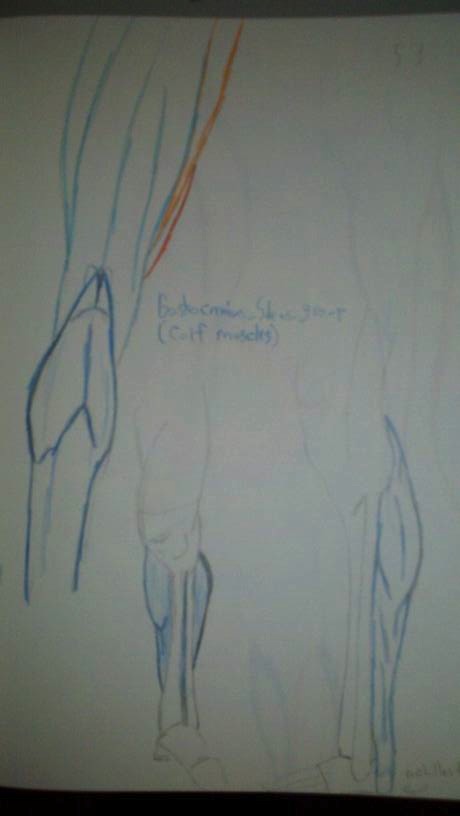
| The completed low poly Retopologized mesh. Note the edge flow following major muscle groups. |
 The completed Retopologized mesh was then imported into the Mudbox file containing my original high resolution mesh. The "transfer details" option was used. This bakes the high resolution details onto the new lower resolution retopologized mesh. This change can be noted in the photos to the left. The original mesh can be seen showcasing a problem area. The polygons are stretching because the lines do not flow in the correct direction. Notice the Black painted topology flows with the muscle to correct this deformation.
- Notice how the polygons now flow with the muscle groups. The geometry now follows the black painted guidelines seen in the previous follow.
The photo above showcases one of the problems with Mudbox's "Transfer Details" command. Transferring details from one mesh to another almost always brings along artifacts such as these along with the high resolution detail. One way to try to combat this is to transfer the details onto a separate layer. This allows you to "erase" or "mask" out the problem areas and keep the nicely transferred details.


